How to Trace and Find Ethernet Cables in Different Rooms without Labels
A network cable has two ends. We can easily find one end of the cable but have trouble locating the other end.
Why is that? Most network cables connected to the router or switch are hidden in the drywall or ceiling. We can spot them with our naked eyes. This gets worse when the cable is in different rooms.
When we want to replace the Ethernet cable or modify the Ethernet setup, identifying the target network cable becomes the key. For those who have no idea how to locate the cable, check out the steps below. Let’s start to find the network cable even if it’s in different rooms without labels.
Table of Content:
⭐ Ready to Get a Tool to Find Your Ethernet Cables?
👉 Explore the full product page here: NF-859GT Cable Tester
Part 1: Understanding Ethernet Cables
Before we delve into the methods of identifying Ethernet cables without labels, let's first familiarize ourselves with the key aspects of Ethernet cables. Understanding their characteristics and distinguishing features will greatly assist in the identification process.
A. Differentiating Ethernet Cables from Other Types
Ethernet cables are specifically designed for networking purposes, carrying data signals between devices such as computers, routers, switches, and other network components. They come in various categories, including Cat5, Cat6, and Cat7, each offering different levels of performance and bandwidth capacity.
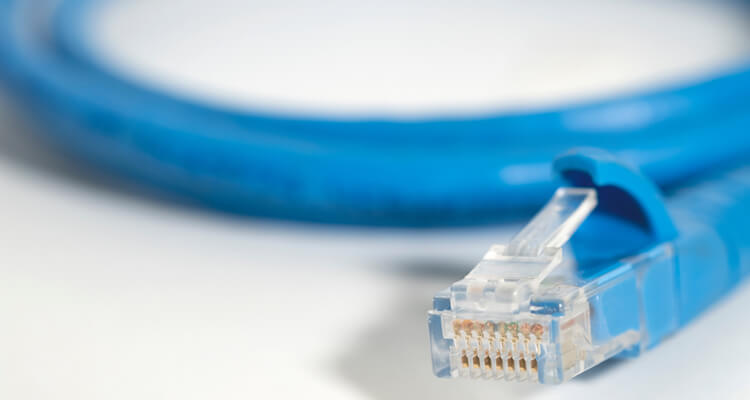
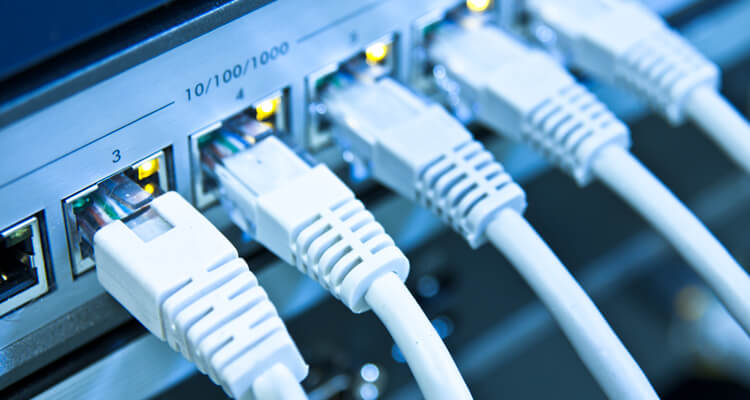
To differentiate Ethernet cables from other types, pay attention to their construction and connectors. Ethernet cables typically feature four pairs of twisted copper wires encased in an outer insulation, often with a plastic RJ-45 connector at each end. This distinguishes them from telephone cables, coaxial cables, or other specialized cables used for different applications.
B. Common Color-Coding Schemes and Their Reliability
Color-coding schemes are often employed in Ethernet cables to aid in identification and connectivity. However, it's important to note that these color codes are not universally standardized and can vary depending on the manufacturer or region. While they can provide a general guideline, they should not be solely relied upon for identification purposes.
In the United States, a common color-coding scheme for Ethernet cables is as follows:
- Pair 1: White/Blue and Blue
- Pair 2: White/Orange and Orange
- Pair 3: White/Green and Green
- Pair 4: White/Brown and Brown
It's worth noting that not all Ethernet cables adhere to this specific color-coding scheme. Therefore, it's advisable to use color as a supplementary identification method rather than the sole determining factor.
By understanding the construction and potential color-coding schemes of Ethernet cables, you are better equipped to begin the process of identifying them in each room. In the following section, we will explore the various methods and tools that will make this task significantly easier.
Stay tuned as we delve into practical techniques for identifying Ethernet cables without labels, ensuring a well-organized and efficient network infrastructure.
Part 2: Why do we need to trace an Ethernet cable?
Normally, we don’t need to know where an Ethernet cable goes. Unless we want to:
- Replace a broken cable;
- Use a more advanced cable;
- Move the Ethernet connection from the current room to another room or device;
- Run a diagnosis of the Ethernet outlet, switch, or router (when the room’s Ethernet is down, we need to figure out if it’s the cable or the Ethernet device).
Understand your need, and let’s get ready to find the cable.
Part 3: What do we need to trace an Ethernet cable?
Tracing an Ethernet cable is not difficult at all. If there are labels on the cables, things get easier. However, most people don’t see the importance of cable labels. We need to locate Ethernet cables with other useful tools.
To begin with, an Ethernet cable tracer is very helpful. This kind of cable tracer is known as a “fox and hound tester”.
- They always come with two devices, one signal emitter and one receiver. Attach one end of the network cable (RJ45 cable mostly) to the emitter and use the receiver to find the cable in another room.
This is how this tracer works. It’s helpful, easy, and safe. The perfect choice for beginners and professionals.
Besides, if you need to trace an Ethernet outlet on the wall, you need an extra RJ45 cable as the connection cable.
Also, a flashlight is helpful when the cable lies in dark corners like under the table and garret.
Part 4: How to trace an Ethernet cable
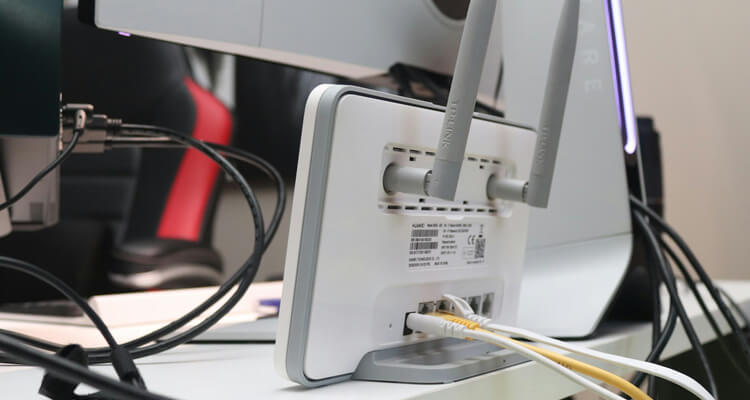
When most Ethernet cables start from an Ethernet device like a switch, router, and modem. Let’s check the cables connected to your home Ethernet device.
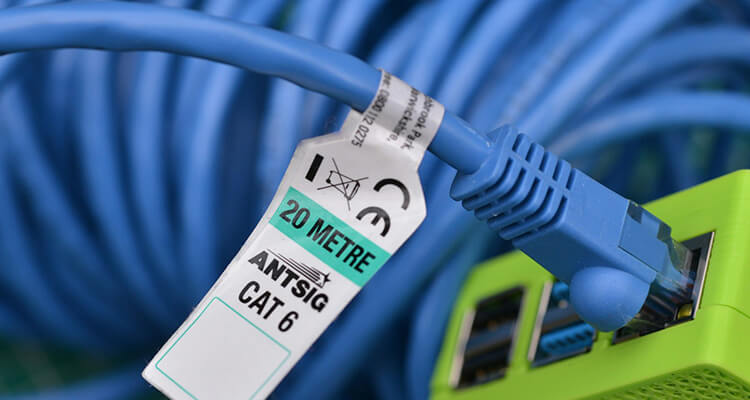
Note that most network cables have their properties printed on the insulation layer. Read:
- cable types like CAT5, CAT5e, CAT6, or CAT7,
- shielding like UTP or STP,
- brand,
- length,
- Max speed,
- etc.
Also, the cable color matters too. Mark down the information and go to different rooms. Find the cable that has the same specs and color.
Trace a network cable with an Ethernet cable tracer tool
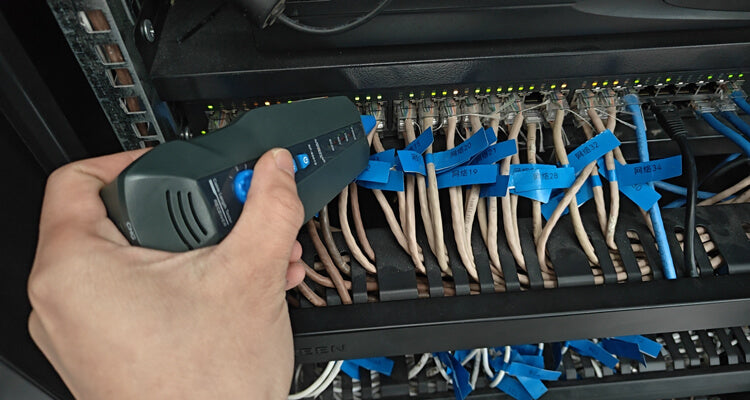
When cables are in the same color and specs, visual inspection fails 100%. In this case, we need help from a professional cable tracer tool, try NF-801 Network Cable Tester & Tracker.
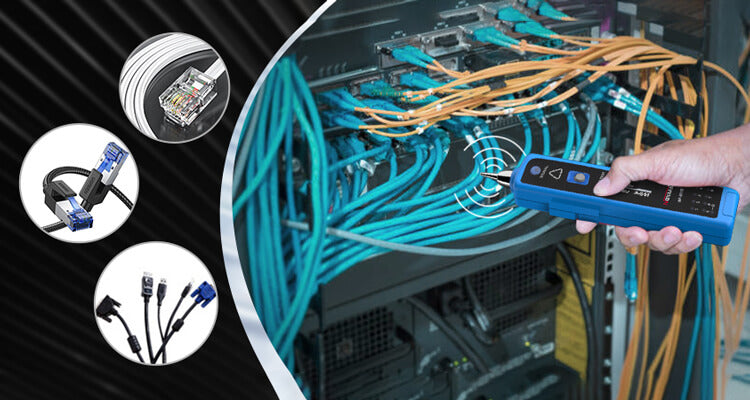
This is a typical "fox and hound" RJ45 cable tracker. Connect one cable to the Emitter device, the Receiver will find the target cable or port using its precise anti-interference probe.
No more struggle to find your cables with naked eyes. You won't have to unplug the cable and pull it out from tubes or holes in the wall. And don't need to manage to stuck the cable back to the holes after locating it.
Three steps only to track and identify your cable in different rooms. Plug out and plug into NF-801. Start to trace! That's all. Now, get NF-801 with just a few bucks. Let's start to find the cable.
Step 1:
Unbox NF-801. Locate your cable in the room. Unplug it from the connected device or wall outlet. Plug it into the NF-801 Emitter device.
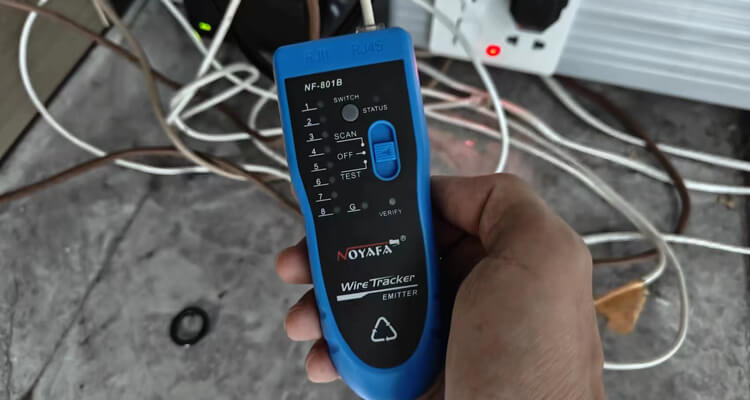
Step 2:
Turn the Emitter device to Scan mode.

Bring the NF-801 Receiver device to the other room.
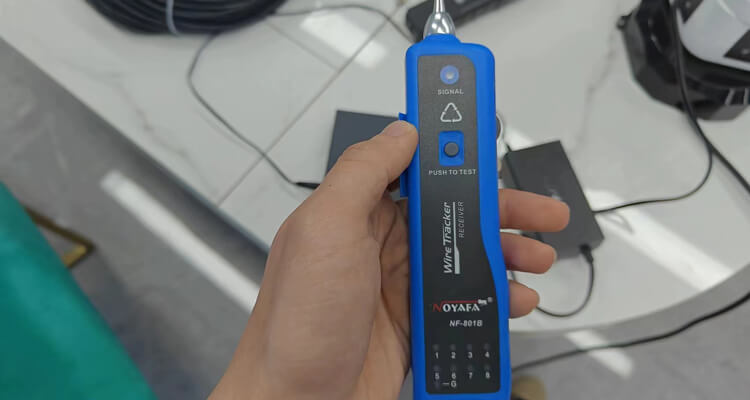
Step 3:
Power on the NF-801 Receiver, press and hold the Test button. Tap the probe to every network cable. If there's a beeping sound, that will be the cable you're looking for.

Additional Tips and Best Practices
To further optimize the identification process, consider the following tips and best practices:
A. Document and Label: As you identify each Ethernet cable, document its location, corresponding room, and any relevant details. Labeling the cables at both ends with room numbers or specific identifiers can save time and effort in the future.
B. Considerations for Large-Scale Installations: If you're dealing with a large-scale network installation, it may be helpful to create a network diagram or use network management software to track and organize the cables. This can provide a visual representation of your network infrastructure and facilitate future maintenance or upgrades.
C. Troubleshooting Common Cable Identification Issues: Sometimes, despite your best efforts, cable identification can be challenging. In such cases, troubleshooting techniques like temporarily disconnecting and observing network devices, using network diagnostic tools, or seeking assistance from professionals can help overcome obstacles.
Conclusion
Congratulations! You have now learned how to identify Ethernet cables in each room without labels, empowering you to take control of your network organization.


